
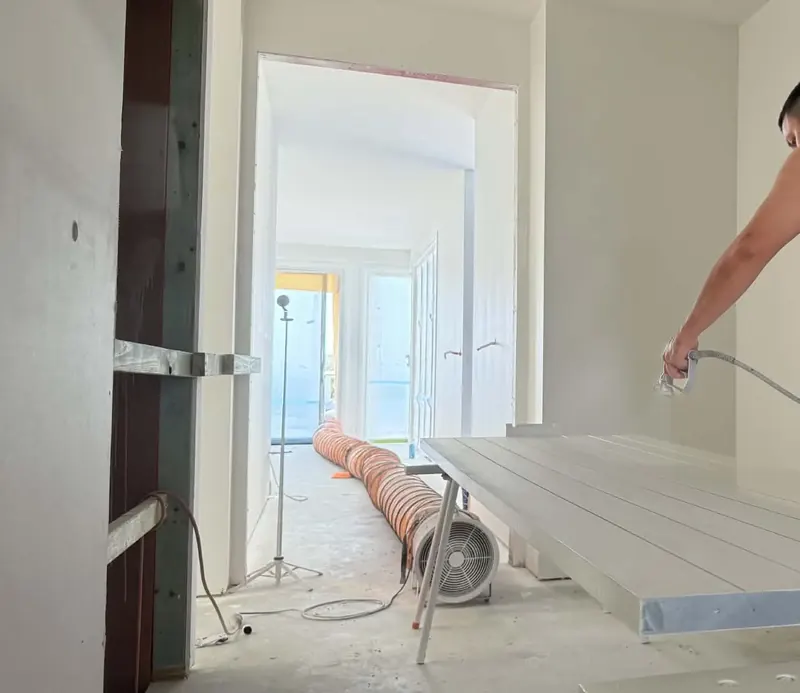
 HOW-01
The care behind the finish
The finished coat is what you see. The preparation, product choices and organisation underneath it are what make the work come together.
Here’s how we approach a painting job, from protecting the space to walking through the finished result with you.
1. Protect and prepare
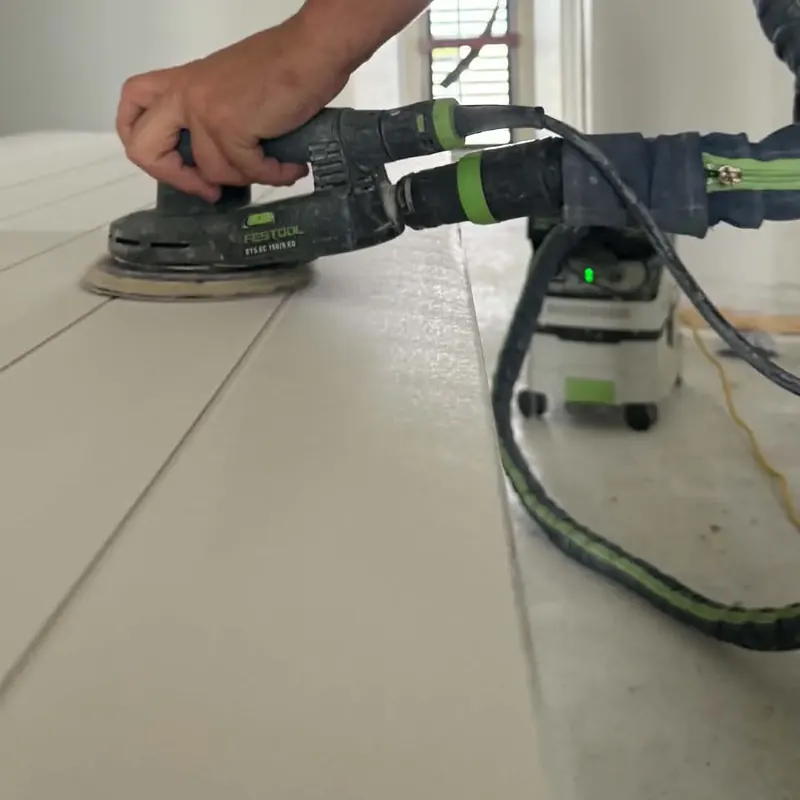
We protect floors, furniture and surrounding surfaces before starting. Preparation is matched to the condition of the surface and can include cleaning, filling, repairs, sanding and priming.
- Festool and Mirka dust extraction helps capture sanding dust at the source.
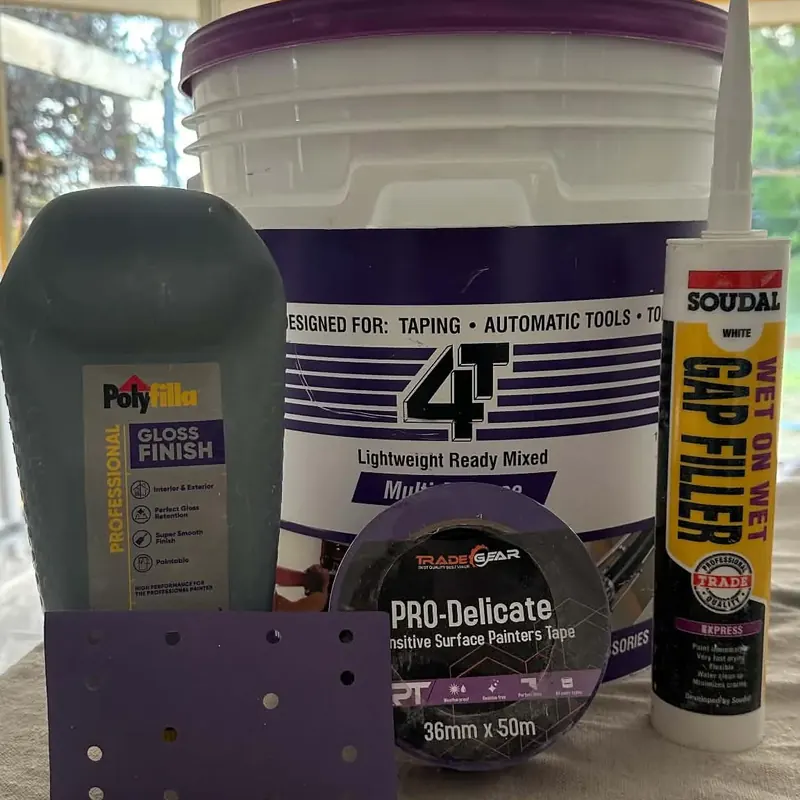
- Fillers and repair compounds are chosen for the surface and type of repair.
- Suitable gaps and joints are sealed before painting.
- Bare areas and problem surfaces receive the appropriate primer.
2. Choose the paint system
We use Wattyl, Resene and Haymes products, selected to suit the substrate, exposure and agreed finish. We’ll discuss sheen levels and product choices as part of your quote.
| Surface | Our usual approach |
|---|---|
| Interior walls | Wattyl I.D. Low Sheen or a suitable alternative |
| Ceilings | Low sheen where suitable, with flat finishes also available |
| Doors and trims | Wattyl Aquatrim or Resene Enamacryl / Lustacryl, with the sheen agreed before painting |
| Exteriors | Wattyl Solagard, Duragard or another system suited to the surface and exposure |
| Bare or problem surfaces | Wattyl Ultra PSU or a specialist primer chosen for the substrate |
Sheen
Our approach to ceilings
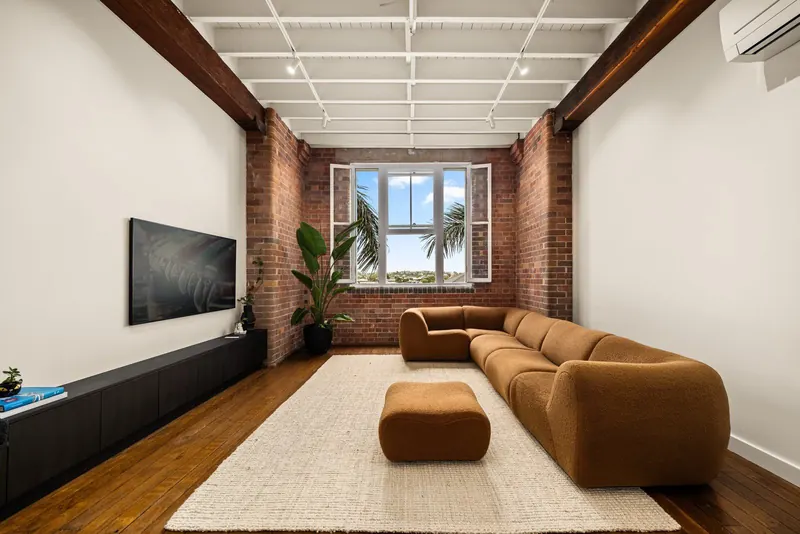
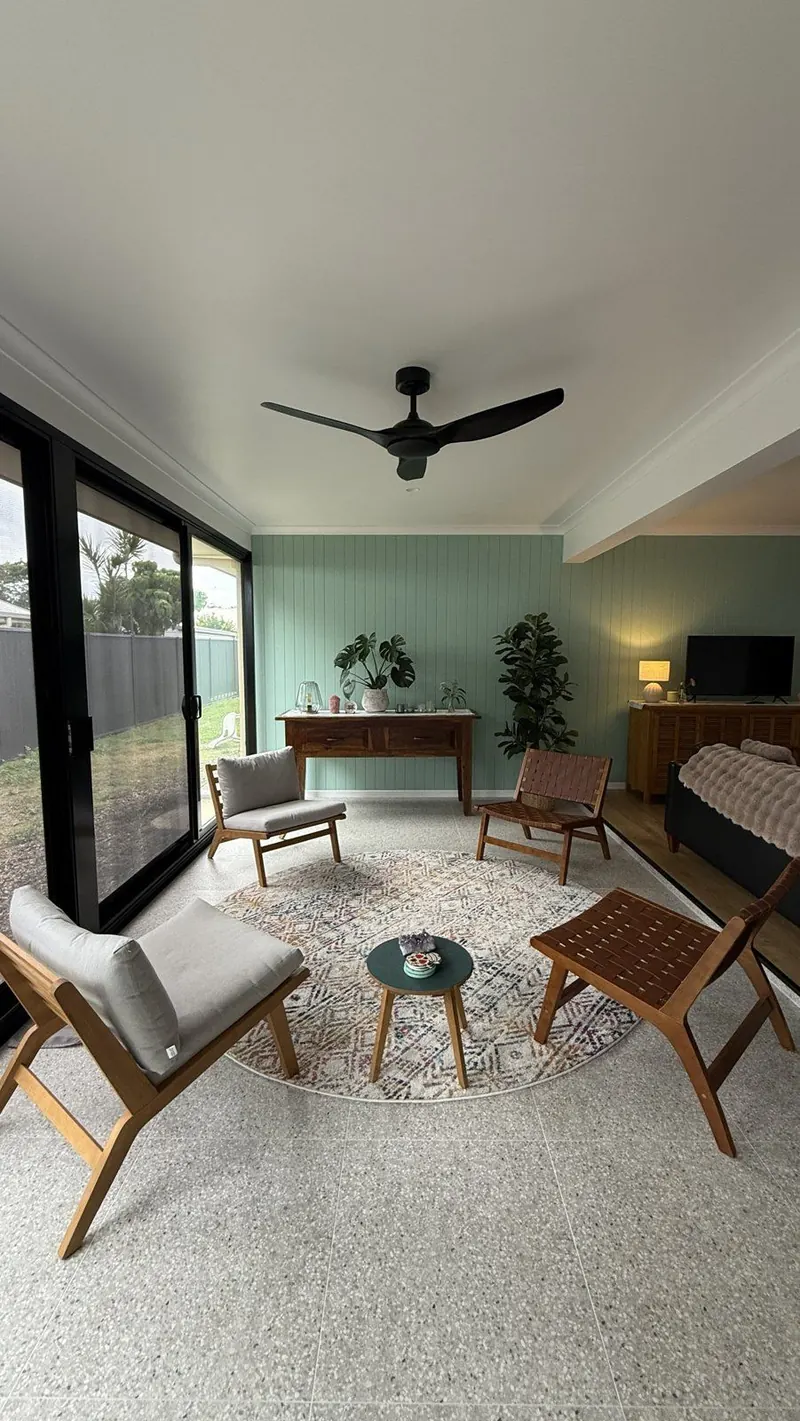
Low sheen is a finish we often recommend for its cleanable surface and the way it catches light. It can also highlight surface irregularities, so we consider the ceiling’s condition, the room’s lighting and your preference before choosing between low sheen and flat.
3. Apply the finish
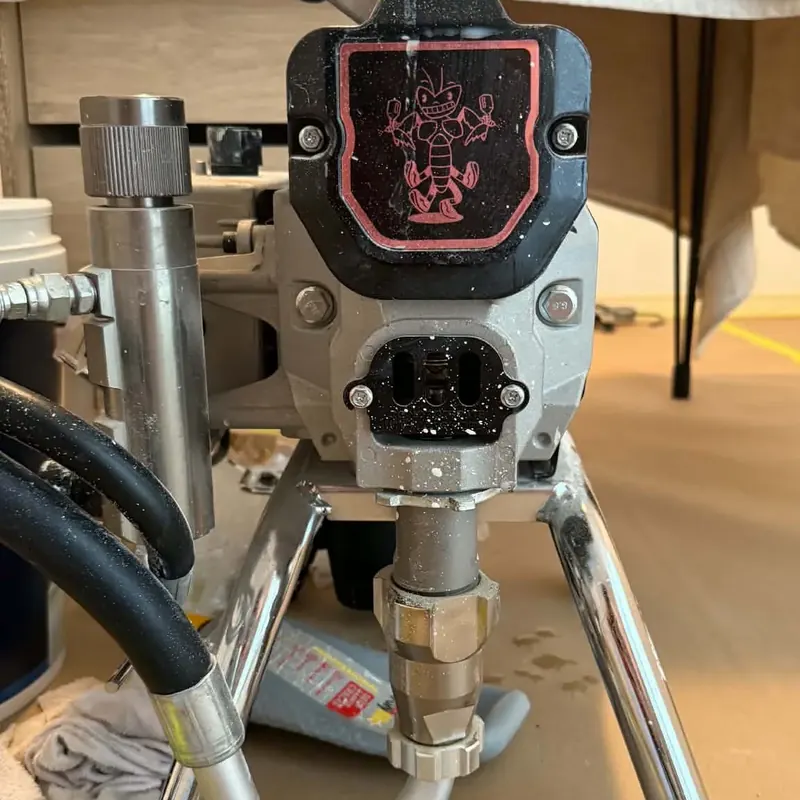
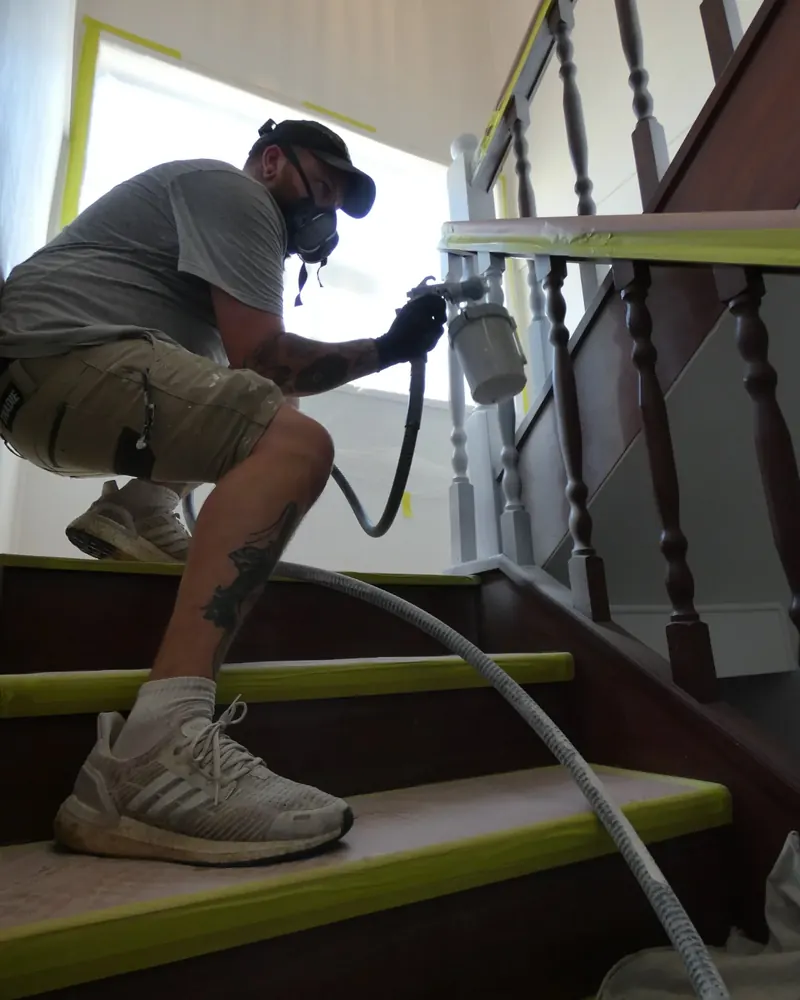
We choose spray, brush or roller application to suit the surface and the job. Our spray equipment includes Wagner systems and equipment from The Spray Gun Club, giving us options for cabinetry, doors, trims and larger areas.
The equipment helps us work efficiently, but preparation, application and the right drying time remain central to the result.
4. Plan access
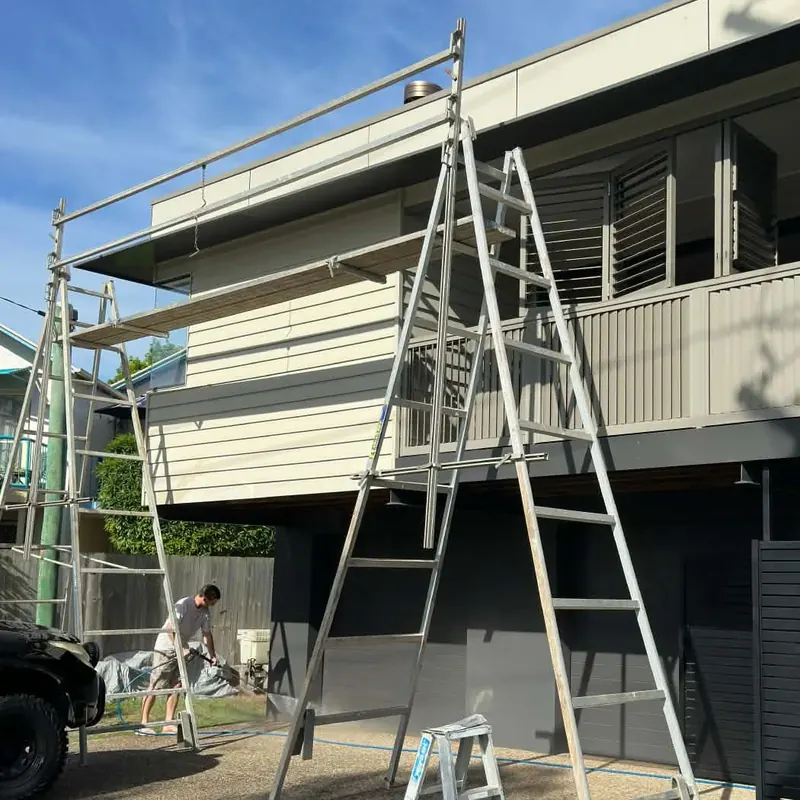
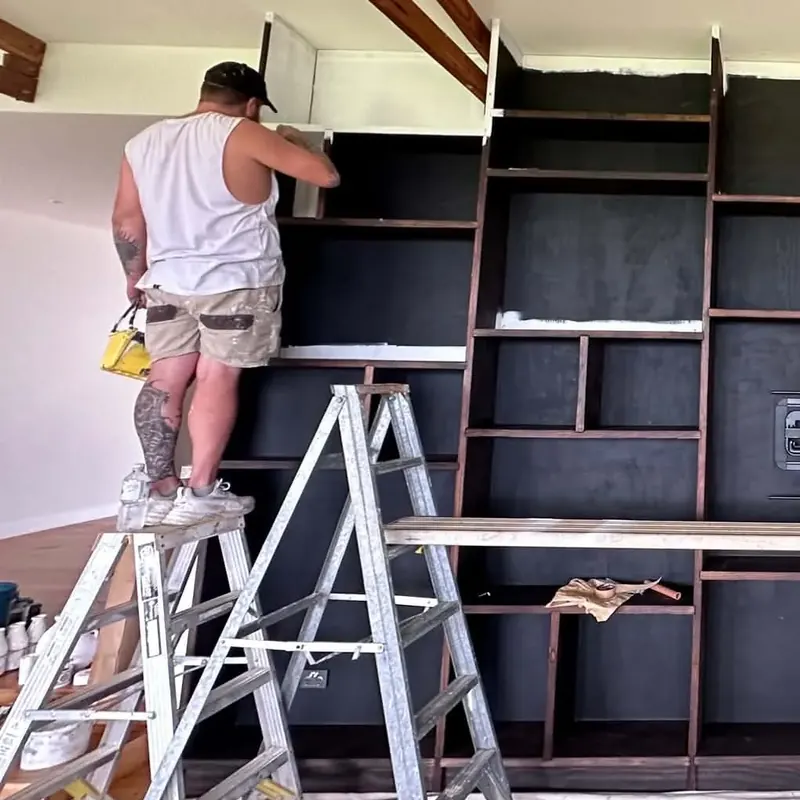
We plan access around the property and the work involved. Our own aluminium trestle equipment helps us organise suitable jobs efficiently, with additional access equipment arranged where needed.
5. Clean up and hand over
We clean the work area, photograph the finished work and walk through it with you. We’ll explain any drying, curing or care instructions, along with the workmanship warranty that applies to your job.
Equipment and products we use
Start with a free estimate
Send us a few photos and tell us what you have in mind. We’ll come back with a preliminary estimate, then arrange a site visit if you’d like to take the next step. Prefer to talk? Call or text us.